Create Requirements
2 min read
Create requirements from the project Requirements page when your team needs to define work that should be validated and traced through testing.
Open The Create Requirement Window
Section titled “Open The Create Requirement Window”To create a requirement:
-
Open the project.
-
Select Requirements.
-
Click Create Requirement.
If the project has no requirements yet, the empty page also shows Create Requirement.
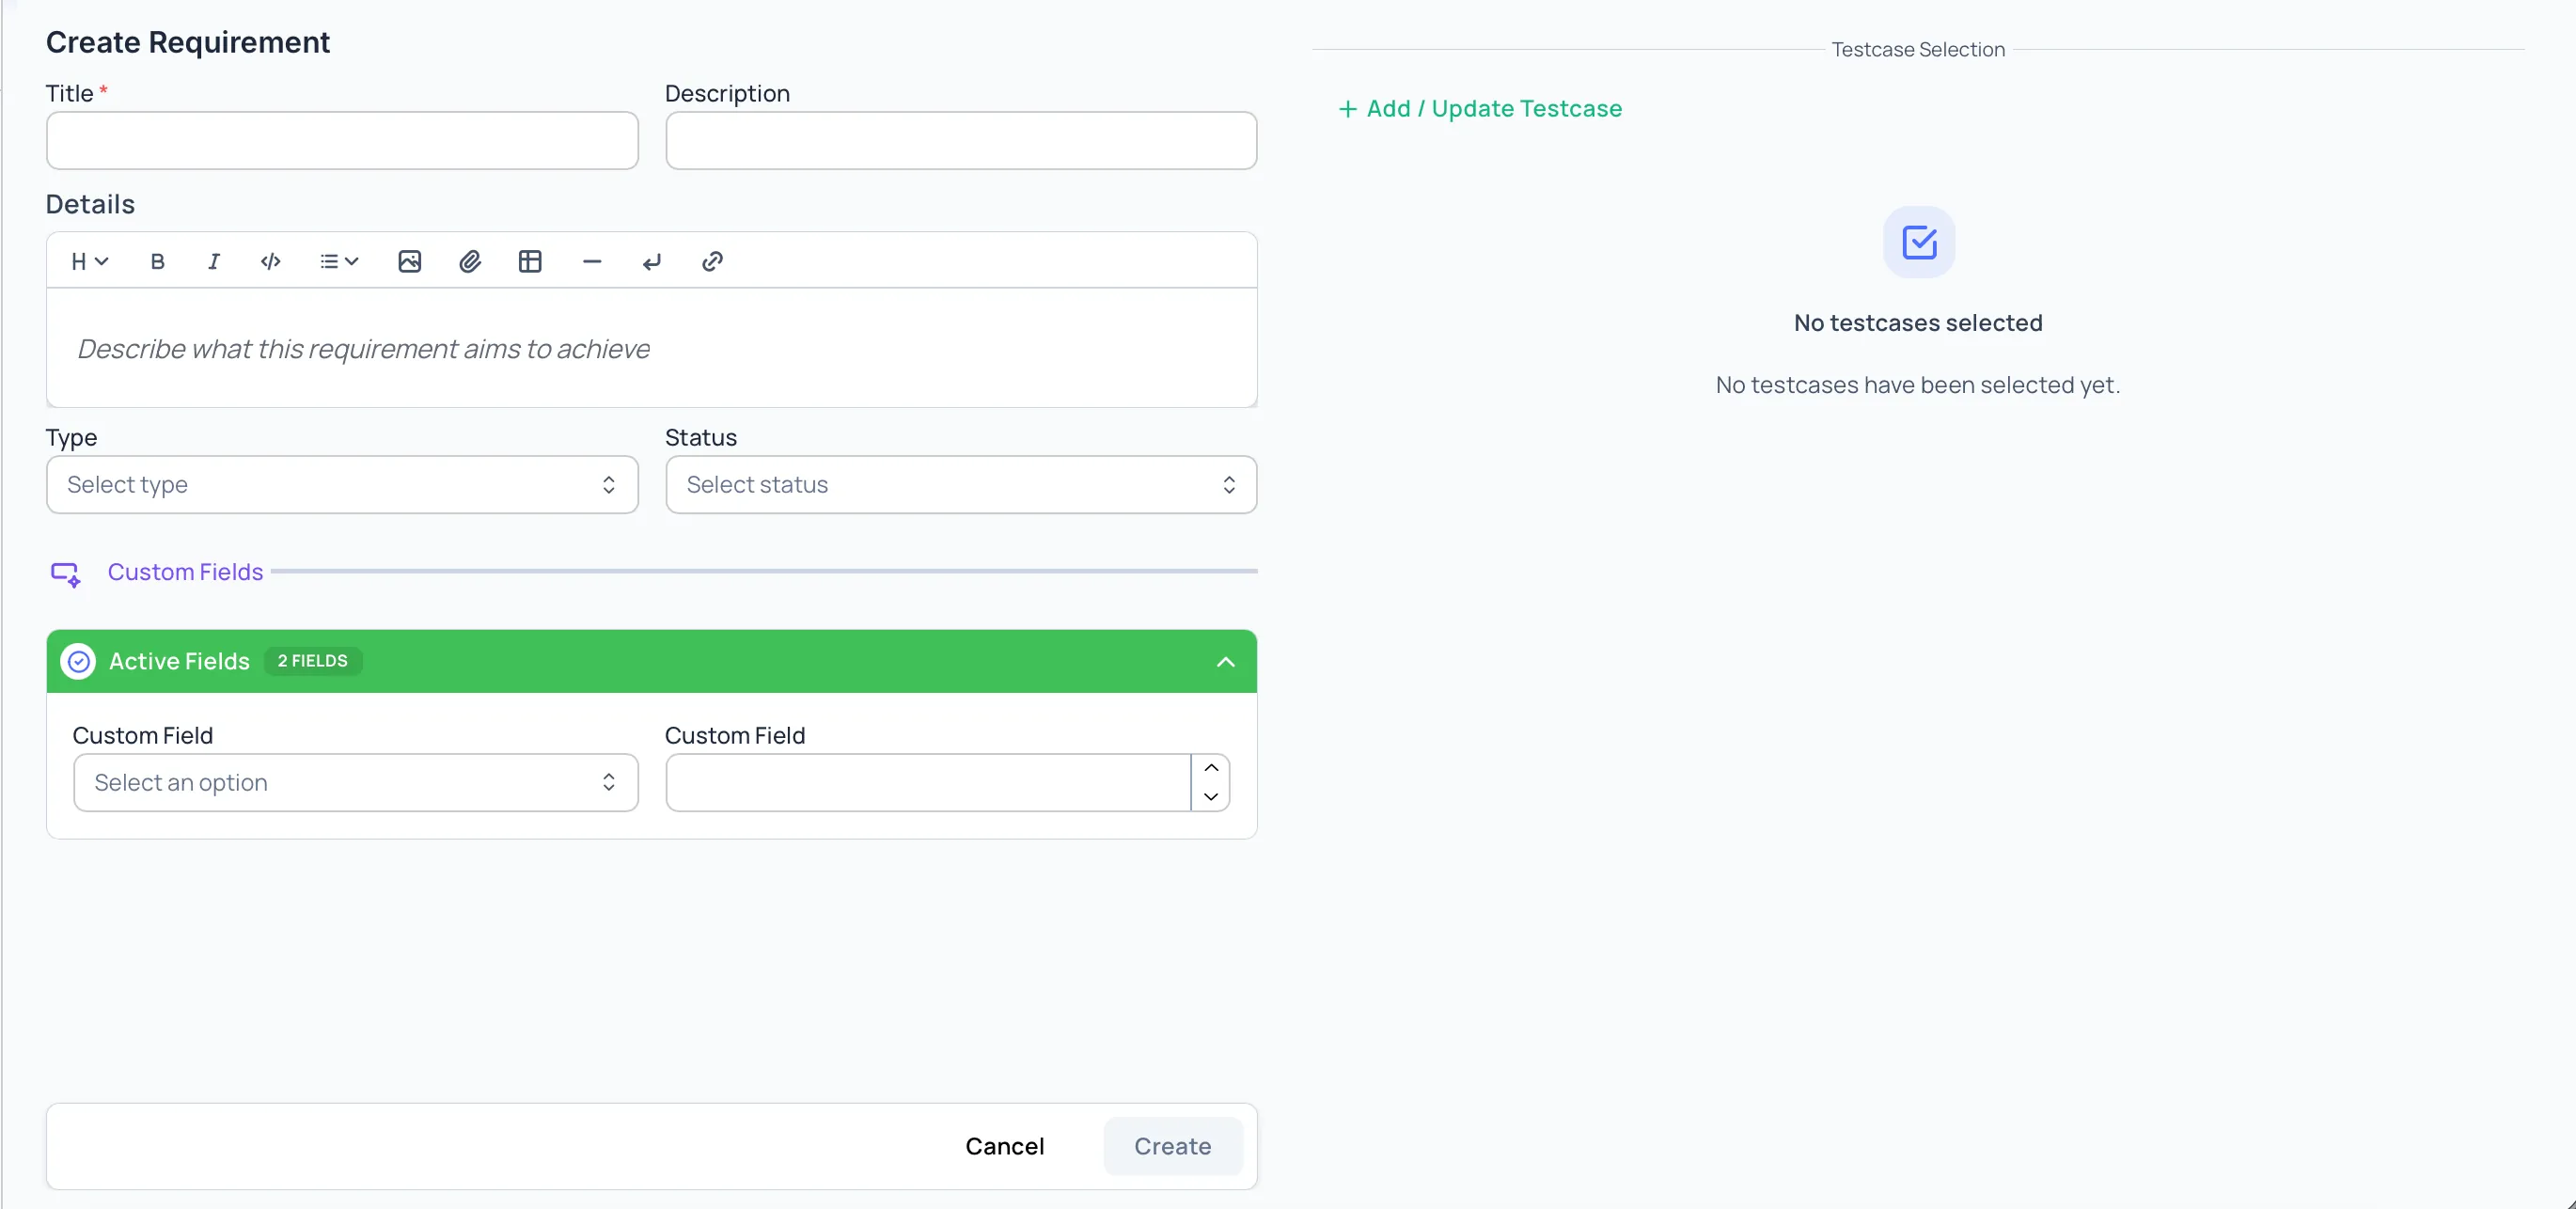
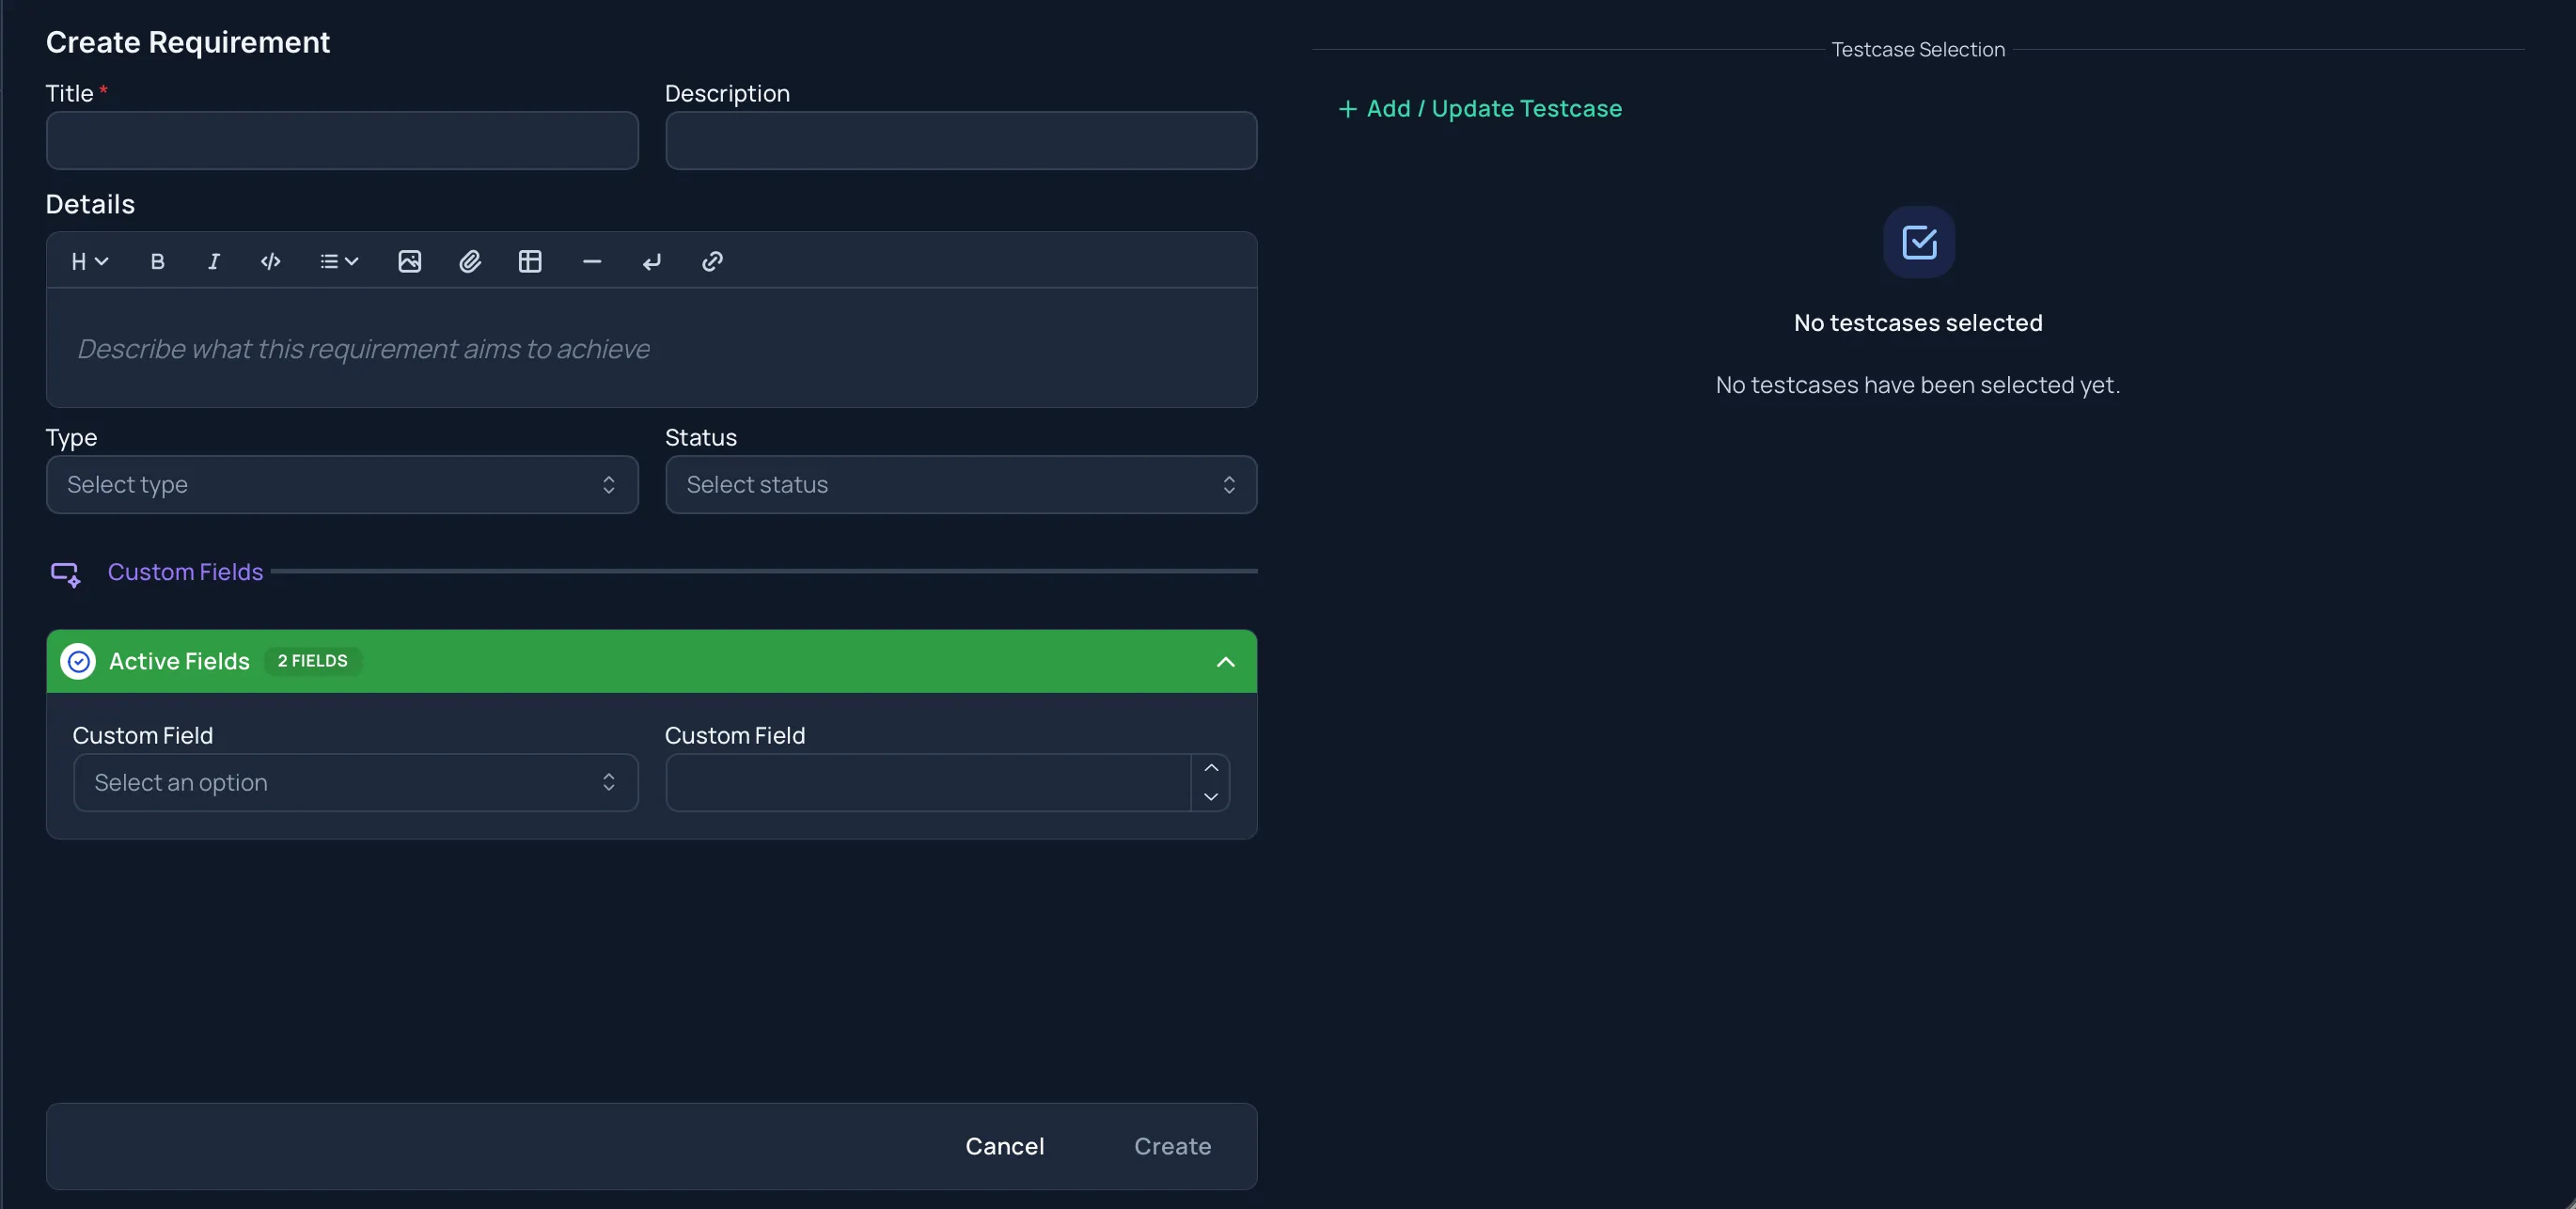
Requirement Fields
Section titled “Requirement Fields”Title
Required. Use a short, clear name that describes what needs to be validated.
Description
Optional rich text area for the requirement details. You can add structured content and upload supporting images from the editor.
Type
Optional. Choose one of the available requirement types:
- Feature
- Bug Fix
- Performance
- Enhancement
Status
Optional. Choose one of the available requirement statuses:
- Draft
- In Progress
- In Review
- Approved
- Rejected
- Archived
Parent requirement
Optional. Choose an existing requirement to nest this one underneath as a sub-requirement. The picker shows your requirements as an indented tree, so you can pick the right place in the hierarchy. Leave it on None (top-level requirement) to create a normal top-level requirement. Tasks cannot be chosen as a parent. See Sub-requirements & Hierarchy for more.
Owner
Optional. Assign a project user as the requirement’s owner. Use the Assign me shortcut to take ownership yourself. Assigning an owner also subscribes them to updates for the requirement. Left empty, the requirement is Unassigned.
Labels
Optional. Use labels to group requirements across the project. The label picker supports searching, selecting existing labels, and creating labels from the picker.
Custom Fields
If your project has active requirement custom fields, they appear in the form. Required custom fields must be completed before the requirement can be created.
Link Test Cases While Creating
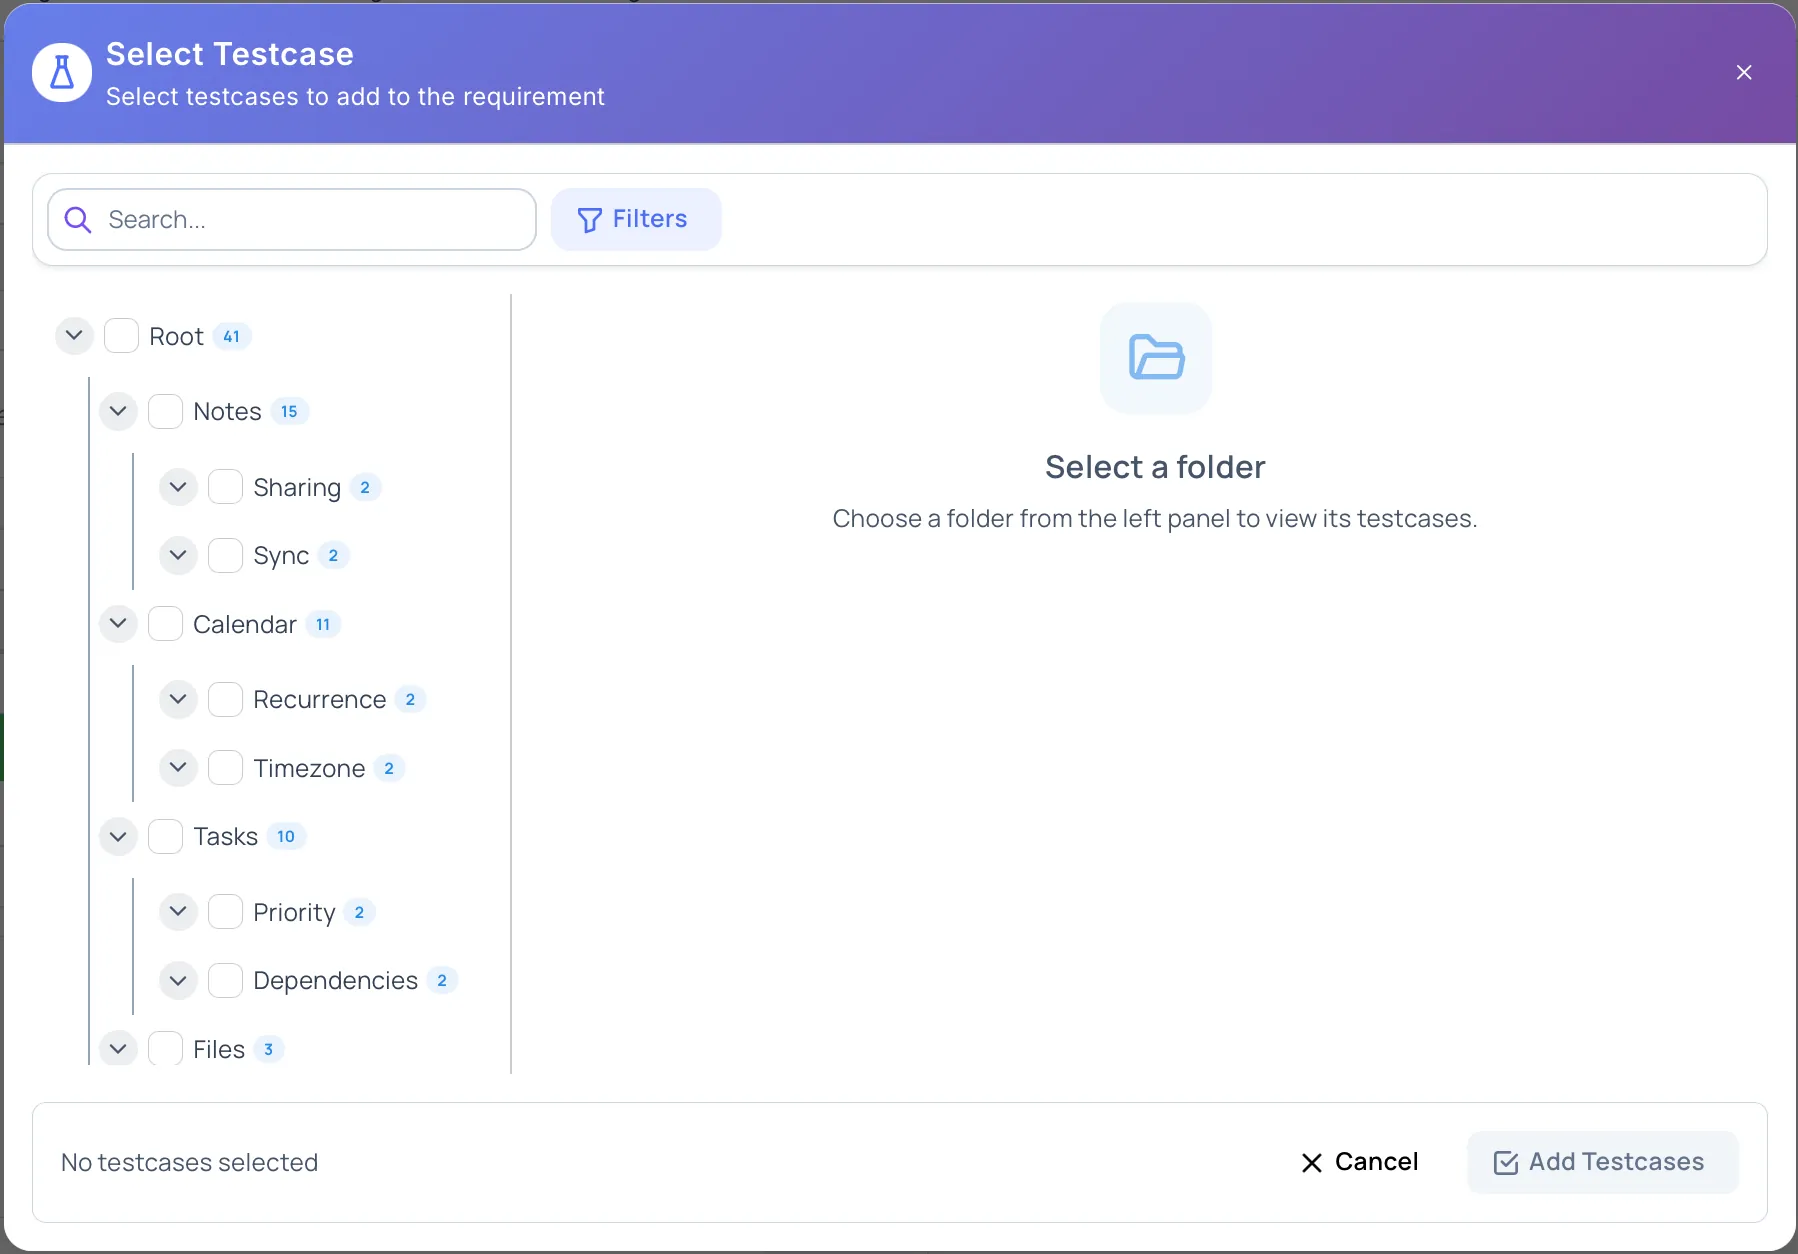
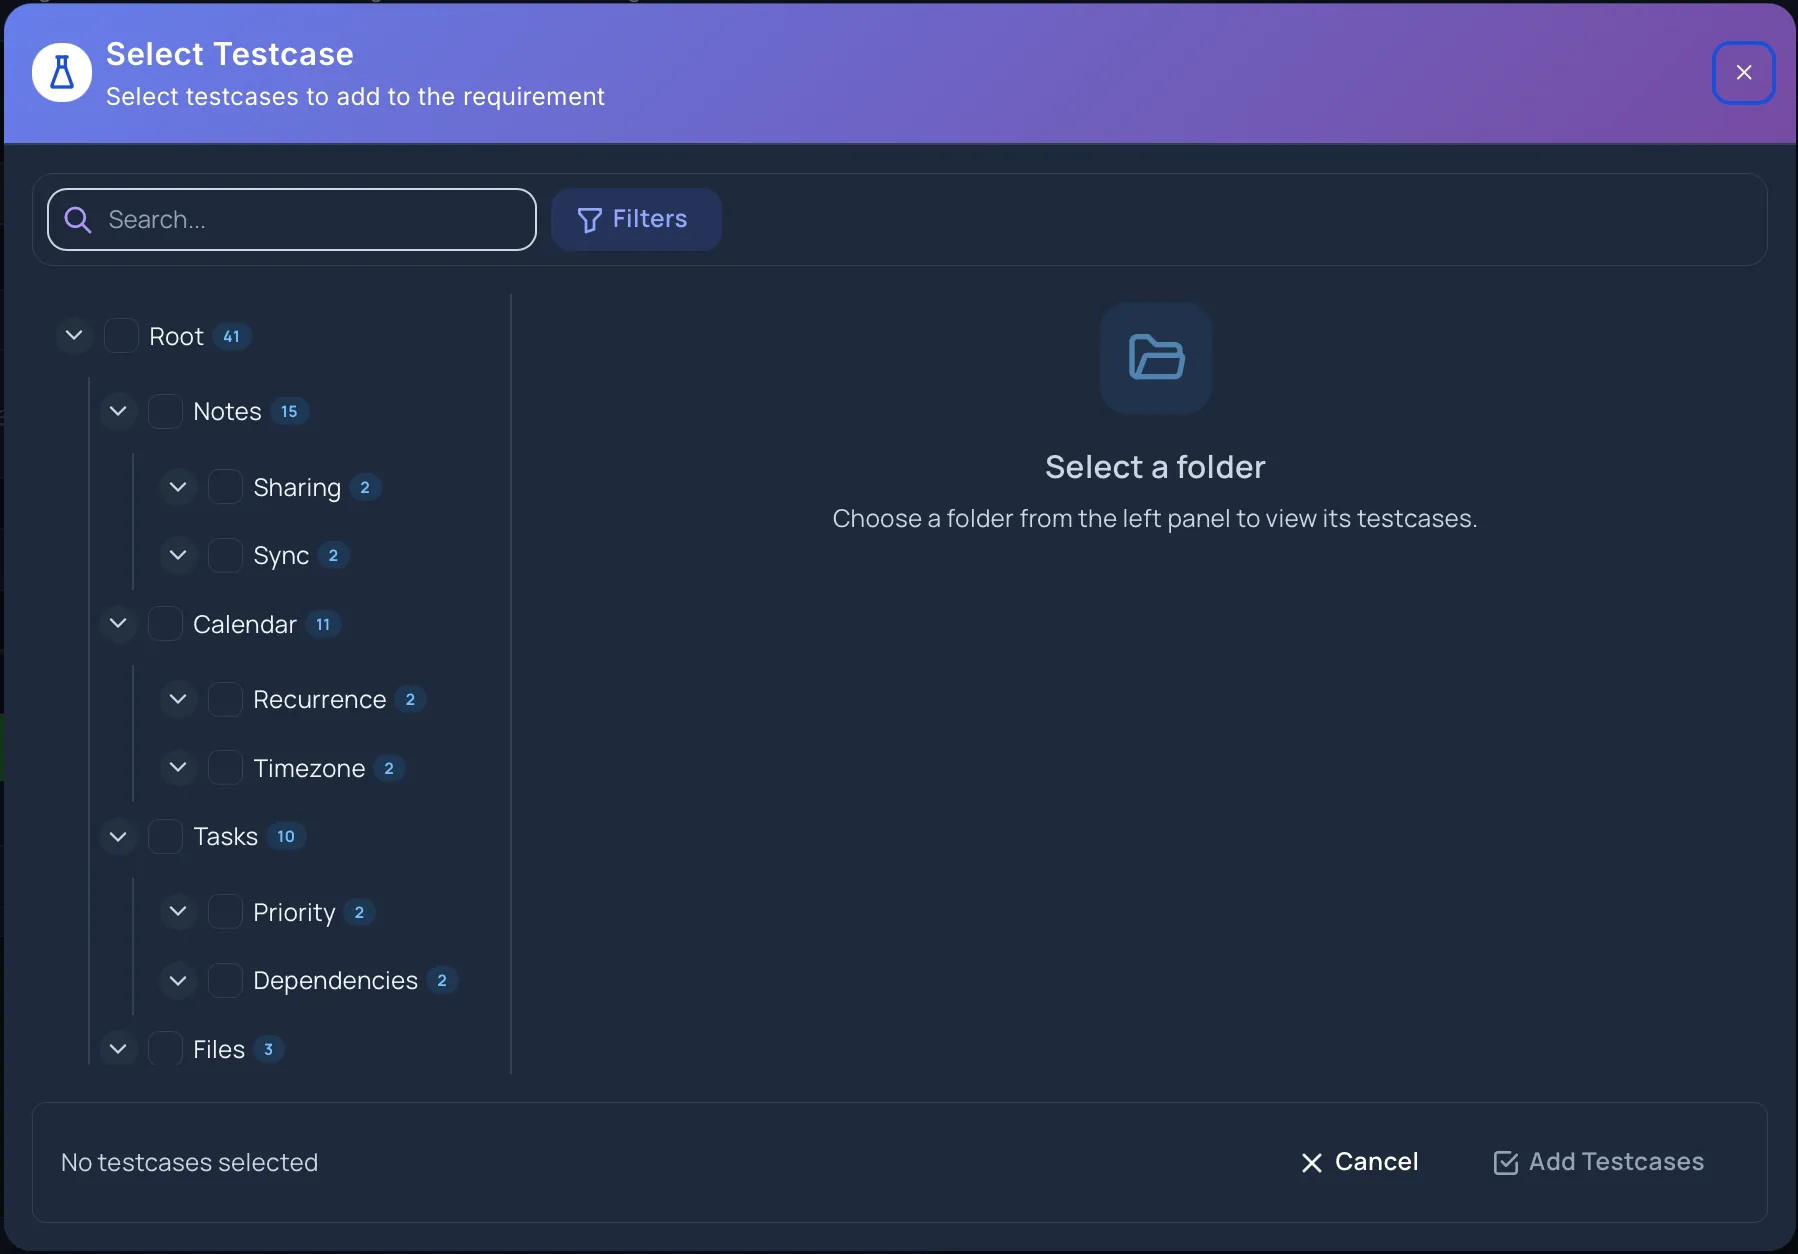
Section titled “Link Test Cases While Creating”Use Add / Update Testcase to link existing test cases to the requirement.
-
Click Add / Update Testcase.
-
Select one or more test cases.
-
Confirm the selection.
Linked test cases appear in the right side of the create view. You can remove a selected test case before creating the requirement.
Validation And Create Behavior
Section titled “Validation And Create Behavior”Create Requirement is available only when the required title is filled in.
If required custom fields are missing, Hawzu shows which fields need attention.
While the requirement is being created, the button shows Creating…. After creation, the requirement is added to the project Requirements list.
Canceling
Section titled “Canceling”Click Cancel to close the create view. If you have changed fields, Hawzu protects against leaving the page before you confirm what to do with those changes.
Permissions
Section titled “Permissions”Creating requirements depends on your project access. If you do not have permission to create requirements, the Create Requirement action is not available.
Creating Sub-requirements and Tasks
Section titled “Creating Sub-requirements and Tasks”The Create Requirement window is used for top-level requirements and sub-requirements alike — to create a sub-requirement, just choose a Parent requirement.
Tasks are created differently. You add tasks from a requirement’s Sub-items tab while editing it, not from this window. See Tasks for the steps.
Next Steps
Section titled “Next Steps”- Create nested requirements with Sub-requirements & Hierarchy
- Split work across teams with Tasks
- Review how to manage requirements
- Learn where requirements are used across Hawzu