Test Case Bulk Operations – Management Guide
Bulk operations in Hawzu allow you to manage multiple test cases at once, saving time and reducing repetitive work. You can bulk edit properties, delete test cases, export data, and quickly create test runs from selected test cases.
Bulk actions are available directly from the Repository when one or more test cases are selected.
Selecting Test Cases
Selecting Individual Test Cases
- Click the checkbox next to a test case to select it
- Selected test cases are highlighted in the list
- Click again to deselect
Selecting Multiple Test Cases
- Select multiple checkboxes manually
- Selection works across the currently visible list
- Selection remains active while scrolling
Select All
To select all test cases in the current folder view:
- Click the checkbox in the list header
Note
Only test cases visible in the current folder and filter context are selected.
Bulk Actions Bar
Once test cases are selected, a bulk actions bar appears at the top of the list.
Available actions include:
- Bulk Edit
- Delete
- Export
- Create Test Run
- Clear Selection
The bar also displays the number of selected test cases.

Bulk Edit Test Cases
Bulk Edit allows you to update common properties across multiple test cases at once.
- Select one or more test cases
- Click the Edit icon in the bulk actions bar
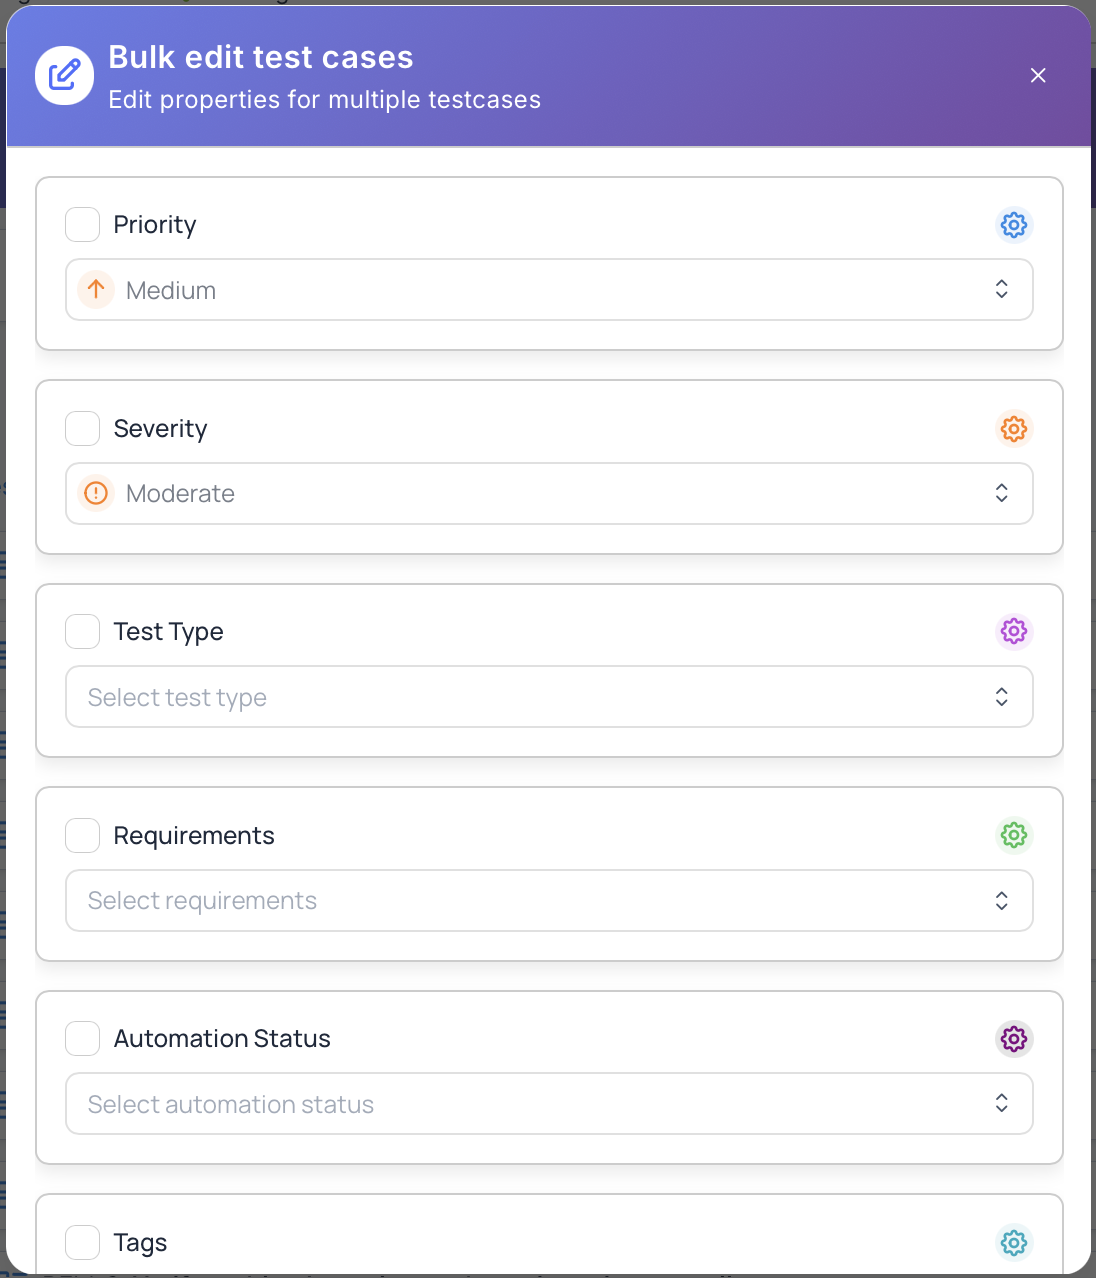
- The Bulk Edit Test Cases modal opens
- Select the fields you want to update
- Apply the changes
Only the fields you explicitly select will be updated.
Supported Bulk Edit Fields
You can bulk update:
- Priority
- Severity
- Test Type
- Automation Status
- Manual
- Automated
- To Be Automated
- Automation In Progress
- Requirements
- Tags
Fields that are not selected remain unchanged.
Bulk Delete
Bulk Delete removes multiple test cases at once.
- Select the test cases to delete
- Click the Delete icon in the bulk actions bar
- Confirm the deletion
Bulk Export
You can export selected test cases for reporting, backup, or migration.
How to Export
- Select one or more test cases
- Click the Export icon
- Choose an export format
Supported Export Formats
- Excel (.xlsx)
- CSV (.csv)
- JSON (.json)
Exported files include:
- Test case metadata
- Steps and expected results
- Preconditions
- Tags and requirements
- Custom fields
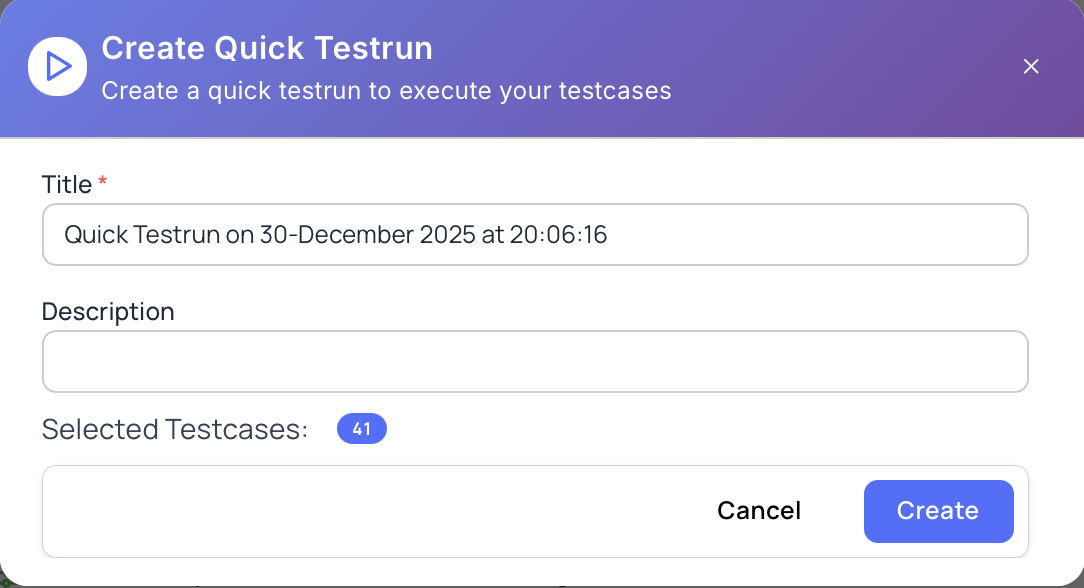
Create Test Run from Selected Test Cases
Bulk selection provides a fast way to create a test run.
How to Create a Test Run
- Select the required test cases
- Click Create Test Run
- Enter test run details
- Create the test run
Important Notes
- Test runs created this way are standalone executions
- Test runs are not tied to releases
- Selected test cases are added automatically
This is useful for:
- Ad-hoc regression runs
- Smoke or sanity executions
- Exploratory testing sessions
Clearing Selection
To clear all selected test cases:
- Click the Clear Selection icon
This hides the bulk actions bar and resets the list state.
Best Practices
- Apply filters first, then use Select All
- Double-check selections before deleting
- Use bulk edit for consistent metadata updates
- Export test cases before large deletions
- Prefer bulk test run creation for quick execution cycles
Permissions
Bulk operations depend on project role:
- Project Manager – Full access to bulk operations
- Project Coordinator – Can bulk edit and create test runs
- Project Member – Limited bulk actions based on permissions
- Project Viewer – Read-only access
Custom roles may further restrict or allow specific bulk actions.
Next Steps
- Learn about Filter & Search Test Cases
- Explore Manage Test Case Folders
- Review Repository Overview